
How to Kickstart Your Child’s Alphabet Writing Journey
Teaching your child to write the alphabet can be such a rewarding experience! A great way to begin is by introducing letter tracing, which helps your child learn the letter names and distinguish between uppercase and lowercase letters as they trace. Here’s a simple and casual guide to make the process enjoyable for both of you.
Step 1: Choose the Right Alphabet Tracing Cards
The first step is finding the right tools. Alphabet tracing cards are an amazing resource, but not all are created equal. Look for cards that:
- Clearly show the differences between uppercase and lowercase letters.
- Include illustrations that are thoughtfully designed and visually clear, such as distinct differences in letter sizes and well-defined letter strokes.
The little details make a big difference! These will help to lay the groundwork for strong letter-writing skills in the future.

Step 2: Prioritize Proper Letter Strokes
When learning to write, the how matters just as much as the what. Focusing on the correct way to form letters is essential. A strong foundation helps your child avoid common challenges, such as writing letters backward or reversed, when they start copying letters on their own.
By teaching the correct letter strokes early on, you’ll help your child develop strong habits that’ll stick with them.
Step 3: Practice Daily in Short Sessions
Daily practice doesn’t have to take up a ton of time. In fact, 10–15 minutes a day is plenty. Start with uppercase and lowercase Aa on the first day. On the second day, review Aa and introduce a new letter. Alternatively, you can begin by teaching the uppercase letters first, followed by the lowercase ones.
There’s no right or wrong approach - choose what works best for your child. When guiding your child, use simple and consistent instructions.
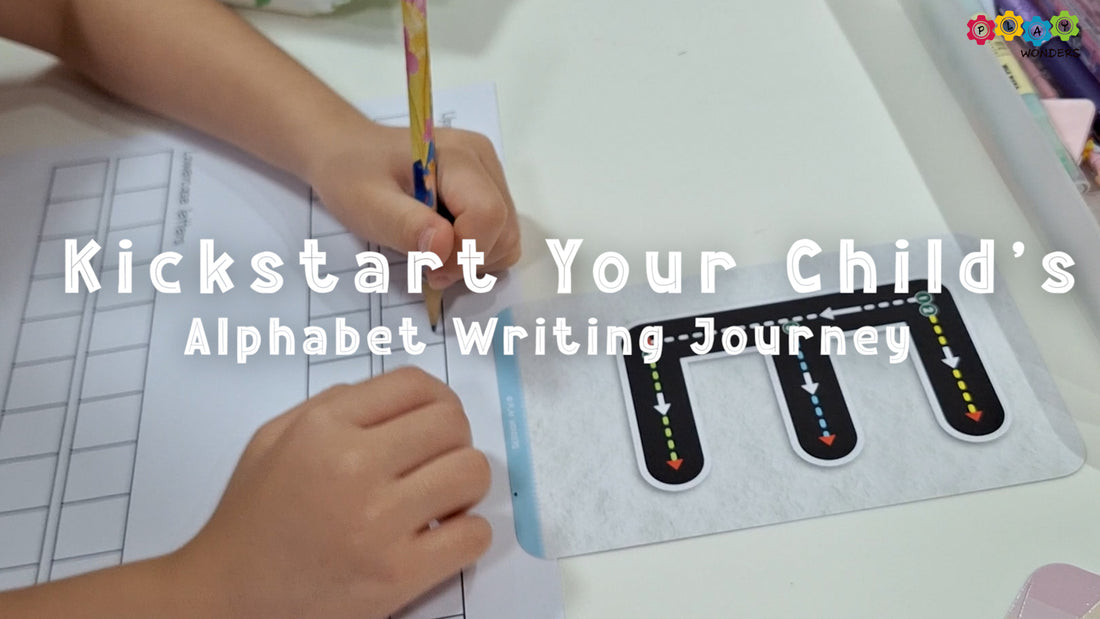
Using the alphabet tracing card for illustration here,
- I will introduce visual cues, such as a green circle for GO and a red triangle for STOP.
- Demonstrate how to start at the green circle on the white dotted line and trace to the red triangle.
- Afterward, move to the yellow line (Step 2) and then the blue line (Step 3).
And here’s a pro tip: Remind your child that writing is like reading—it flows from left to right and top to bottom.
Step 4: Adjust as Your Child Progresses
As your child becomes more familiar with the letters, focus on the ones they find challenging and skip those they’ve mastered. This personalized approach builds their confidence and ensures steady progress in letter tracing and recognition.
You may also like the video below for more visual guides.
Final Thoughts
Letter tracing is an excellent way to introduce your child to the alphabet while having fun together. By taking it one step at a time and adjusting as they progress, you will help them develop strong writing skills—and a love for learning!
Happy tracing! 😊